It’s been a while since I created something worthwhile. In the past few months, I’ve learned Go and the next possible jump is to start learning Kubernetes. In the future, I will probably create my own Pi Supercluster, something like I saw in NetworkChuck’s video, but for now, I will stay with Minikube. I’m currently using Windows and am a big fan of VirtualBox and Vagrant. This is why I don’t really like the idea of messing with my virtualization till now.
Installing the required software.
I will use chocolatey as always if I need anything on my computer. I already have VirtualBox and Vagrant installed on my laptop, now I only need to run.
choco install kubernetes-cli minikube -y
Create a new Minikube cluster
The recommended way to use minikube on Windows with Hyper-v, So I needed a way to force it to use VirtualBox instead.
minikube.exe start --vm-driver="virtualbox" --no-vtx-check
Without the ‘–no-vtx-check’ flag, the cluster starts up failed me, and I saw this workaround on Github. Afterward, everything went smoothly.
C:\> minikube status
minikube
type: Control Plane
host: Running
kubelet: Running
apiserver: Running
kubeconfig: Configured
C:\> kubectl.exe cluster-info
Kubernetes control plane is running at https://192.168.59.100:8443
CoreDNS is running at https://192.168.59.100:8443/api/v1/namespaces/kube-system/services/kube-dns:dns/proxy

To further debug and diagnose cluster problems, use 'kubectl cluster-info dump'.
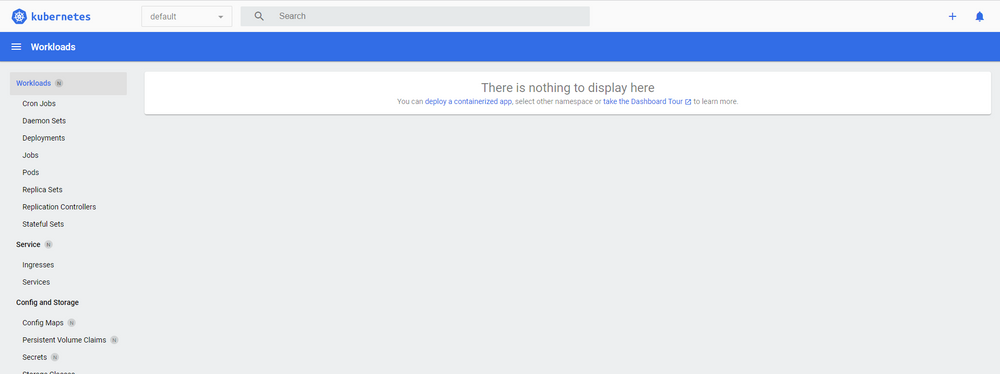
Now I can lunch the dashboard from the PowerShell.
PS C:\> minikube dashboard
* Verifying dashboard health ...
* Launching proxy ...
* Verifying proxy health ...
* Opening http://127.0.0.1:56286/api/v1/namespaces/kubernetes-dashboard/services/http:kubernetes-dashboard:/proxy/ in your default browser...
Create my first deployment
PS C:\> kubectl create deployment hello-node --image=k8s.gcr.io/echoserver:1.4
deployment.apps/hello-node created
This creates a deployment, and we can investigate into the Pod that gets created, which will run the container:
PS C:\>  kubectl get deployments
NAME         READY   UP-TO-DATE   AVAILABLE   AGE
hello-node   1/1     1            1           14s
Expose a Service
PS C:\> kubectl.exe expose deployment hello-node --type=NodePort --port=8080
service/hello-node exposed
Now I can use minikube to access it.
PS C:\> minikube service hello-node
|-----------|------------|-------------|-----------------------------|
| NAMESPACE |    NAME    | TARGET PORT |             URL             |
|-----------|------------|-------------|-----------------------------|
| default   | hello-node |        8080 | http://172.18.157.135:32453 |
|-----------|------------|-------------|-----------------------------|
* Opening service default/hello-node in default browser...
Cleaning up
To remove this deployment, I can use
PS C:\> kubectl delete deployment hello-node
deployment.apps "hello-node" deleted
And stop the cluster via
PS C:\> minikube stop
* Stopping node "minikube"  ...
* Powering off "minikube" via SSH ...
* 1 node stopped.
Experience with this setup
Using my previous tools to create a new cluster was a great experiment, but unfortunately, I found out that it can hang for a long time when I start the cluster. And afterward, none of the minikube commands can work properly. Not even stop. It’s not a good experience, and this is why I give it a try with hyper-v.